
 Pin it
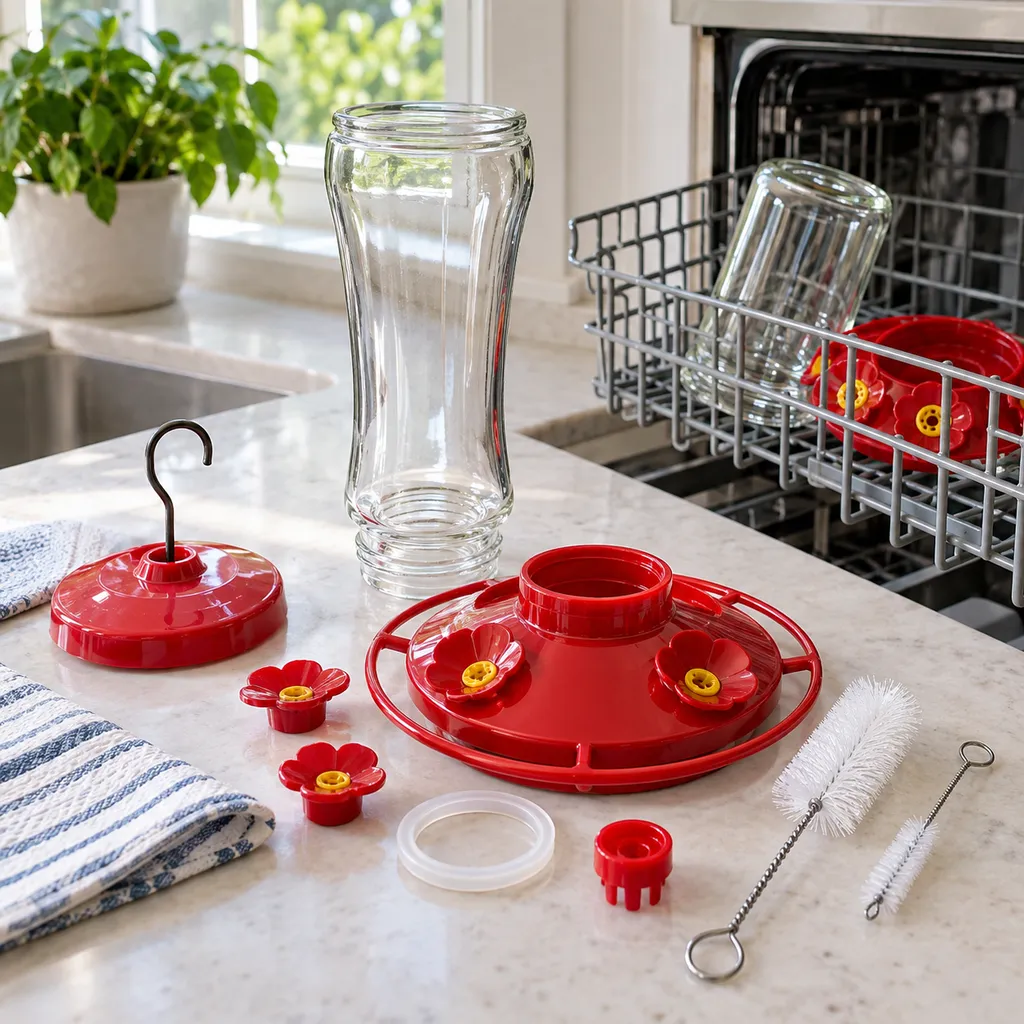
Yes, some hummingbird feeders can go in the dishwasher, but only if that specific feeder is labeled or documented as dishwasher-safe. Treat the dishwasher as a helper, not as the whole cleaning plan: take the feeder apart, brush the ports and crevices, rinse thoroughly, and inspect every piece before refilling. Project FeederWatch says dishwasher cleaning can work very well for bird feeders, while also warning that not all feeders are dishwasher-safe; it separately recommends cleaning hummingbird feeders every couple of days and ideally every time they are refilled because mold and fungi readily grow in sugar water https://feederwatch.org/learn/feeding-birds/how-to-clean-your-feeders/. If the feeder has no dishwasher guidance, hand-washing is the safer choice.
The Short Rule: Dishwasher-Safe Means This Feeder, Not Feeders in General
The phrase “dishwasher-safe” is not a category-wide promise. A glass reservoir, a molded plastic saucer, a silicone gasket, a painted metal hanger, and tiny flower ports all behave differently under heat, detergent, spray pressure, and drying cycles. One feeder may tolerate the top rack; another may warp enough that the base no longer seals. If the packaging, insert, molded marking, or manufacturer care page says dishwasher-safe, follow that guidance exactly. If it says hand wash only, believe it. If it says nothing, assume the dishwasher is unapproved and clean by hand.
The reason is practical rather than fussy: hummingbird feeders have to seal cleanly and deliver clear 4:1 nectar from small openings. Even a slightly distorted base, loosened gasket, cracked reservoir, or clouded port can create leaks, trap residue, or make cleaning harder next time. On a feeder site, the winning standard is not “did it survive one wash?” It is “can every surface that touches nectar be fully cleaned, rinsed, dried, and inspected before the feeder goes back outside?”
What The Dishwasher Can Do Well
A dishwasher can be useful for sturdy, simple, dishwasher-approved parts. Hot water, detergent, and repeated spray can remove film from broad surfaces better than a rushed rinse in the sink. Cornell Lab’s All About Birds says bird feeders can be taken apart and cleaned in a dishwasher on a hot setting, or hand washed, while its hummingbird-specific advice still emphasizes hot water, a bottle brush, and thorough rinsing before refilling https://www.allaboutbirds.org/news/how-to-clean-your-bird-feeder/. That distinction matters: a dishwasher may be helpful, but the hummingbird feeder still needs close attention because sugar water residue collects in small parts.
The best candidates for a dishwasher are usually wide-mouth glass reservoirs, simple hard-plastic bases that are explicitly dishwasher-safe, removable ant moats, and saucer-style trays with smooth surfaces. Put small parts in a covered utensil basket or mesh dishwasher basket so they do not fall onto the heating element or disappear into the filter area. Use the gentlest cycle that still cleans well if the feeder instructions allow machine washing, and skip heated dry unless the feeder instructions specifically allow it. Afterward, let parts air-dry fully before reassembly.
What The Dishwasher Cannot Replace
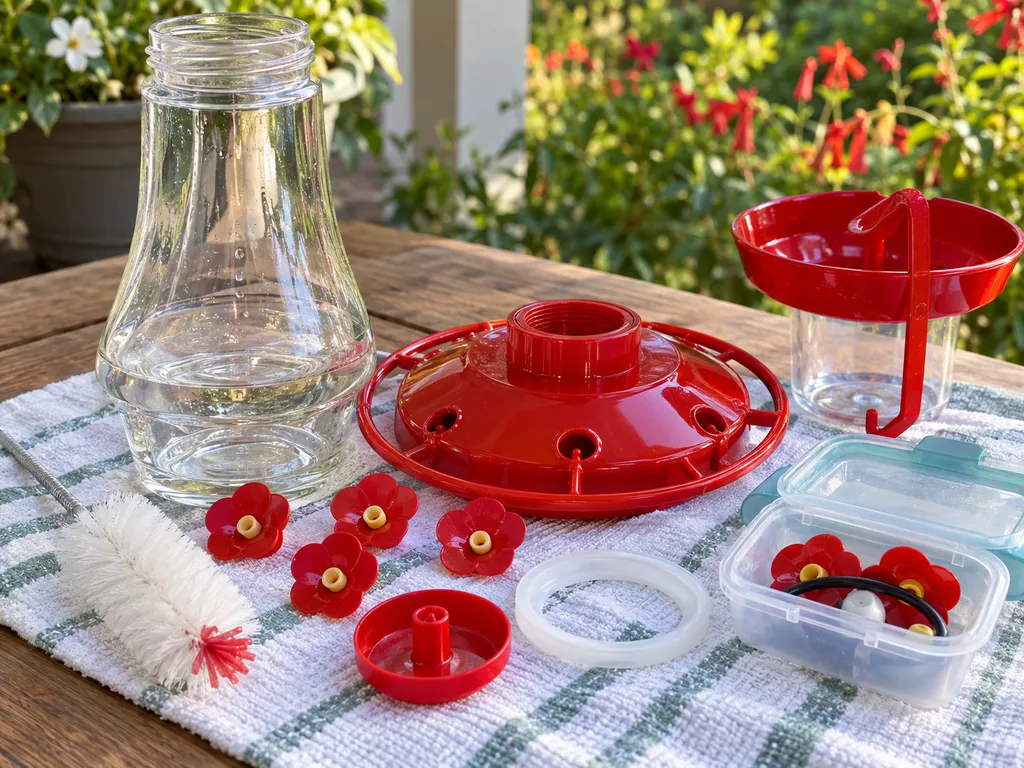
The dishwasher cannot see through red plastic flowers, rubber valves, bee guards, port tubes, bottle threads, or a narrow seam under a saucer lid. Those are the places where cloudy film and dark specks often hide. Project FeederWatch’s hummingbird feeder guidance starts with taking the feeder apart and washing the parts thoroughly, and it calls out frequent cleaning in warm weather because mold and fungi grow readily in sugar water https://feederwatch.org/learn/feeding-birds/how-to-clean-your-feeders/. In practice, that means you should still use a small port brush, bottle brush, or pipe cleaner before or after any dishwasher cycle.
Use this quick dishwasher decision checklist before you load the feeder:
- Look for written care instructions. If the feeder is not marked dishwasher-safe, hand-wash it.
- Take the feeder completely apart. Remove flowers, gaskets, bee guards, ant moat pieces, and the reservoir if the design allows.
- Brush small openings first. A dishwasher spray arm may miss the inside of ports and tight threads.
- Keep small pieces contained. Use a closed basket so parts do not melt, crack, or block the dishwasher.
- Inspect after washing. Look for warping, cracks, sticky residue, cloudy film, or loosened seals.
- Rinse again if needed. Any cleaner smell, slick feel, or visible residue means the parts need more rinsing.
Parts To Hand-Wash Even When The Feeder Is Mostly Dishwasher-Safe
Hand-wash any part that is soft, flexible, painted, glued, cloudy, cracked, or hard to replace. Silicone gaskets and rubber stoppers can stretch or harden over time. Tiny yellow flower centers, bee guards, and valves can trap detergent or deform under heat. Metal hangers and decorative lids may discolor or rust if the finish is not dishwasher-safe. If a piece is essential to preventing leaks, it deserves a careful hand wash and inspection rather than a blind trip through the machine.
Older feeders deserve extra caution. Plastic that has spent a season in sun can become brittle. A reservoir that looked clear in spring may craze or cloud after repeated heat cycles. If a part no longer fits tightly after washing, retire that piece or replace the feeder. Hummingbird feeders should be easy to take apart and clean; Cornell’s feeding guidance says ease of cleaning is one of the most important feeder features, because every crevice should be easy to scrub https://www.allaboutbirds.org/news/feeding-hummingbirds/?pid=1181. If a feeder cannot be cleaned confidently, it is not a good daily-use feeder.
How Often Dishwasher Cleaning Fits Into Feeder Care
A dishwasher cycle is not a schedule. The schedule comes from nectar freshness, weather, and visible condition. Audubon advises cleaning hummingbird feeders every 2 to 3 days, daily in particularly hot conditions, and immediately if the nectar looks cloudy https://www.audubon.org/community-science/hummingbirds/how-create-hummingbird-friendly-yard. The Smithsonian’s National Zoo similarly tells readers to change feeders every other day and thoroughly clean them each time, with at least twice-weekly cleaning in hot weather and weekly cleaning in cooler weather https://www.nationalzoo.si.edu/migratory-birds/hummingbird-nectar-recipe.
For a dishwasher-safe feeder, that might mean hand-brushing at every refill and running the larger parts through the dishwasher every few cleanings, or using the dishwasher more often during heavy use if the parts tolerate it. For a hand-wash-only feeder, skip the machine entirely and focus on hot water, brushes sized for the bottle and ports, and thorough rinsing. Either way, do not refill over old nectar, do not “top off” without cleaning, and do not wait for visible growth before cleaning. The point is to prevent buildup, not merely respond to it.
Soap, Vinegar, Bleach, And The Dishwasher Question
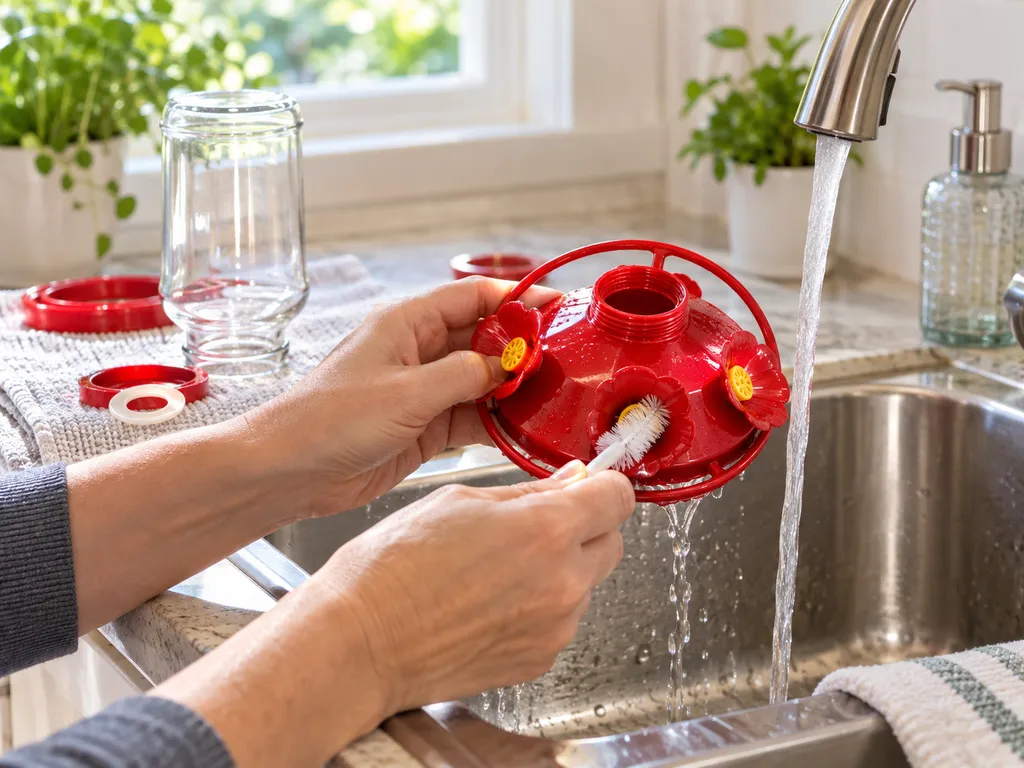
Cleaning advice differs on soap. Project FeederWatch says to wash hummingbird feeder parts with warm water and dish soap, then rinse thoroughly https://feederwatch.org/learn/feeding-birds/how-to-clean-your-feeders/. All About Birds says not to use soap or detergent for hummingbird feeders and instead emphasizes hot water, a bottle brush, and, when needed, a dilute bleach solution followed by thorough rinsing and air drying https://www.allaboutbirds.org/news/how-to-clean-your-bird-feeder/. Audubon’s hummingbird FAQ also cautions that dish soaps can leave residue. A careful middle ground is this: a small amount of mild dish soap is acceptable only if you rinse extremely well, but if you are not confident you can remove all residue from ports and seams, use hot water, brushes, and an approved vinegar or bleach deep-clean instead.
Vinegar can help with routine deep cleaning and mineral film. Audubon recommends a one-part white vinegar to four-parts water solution about once a week and then rinsing well with warm water before refilling https://www.audubon.org/community-science/hummingbirds/how-create-hummingbird-friendly-yard. A dishwasher is usually not the place for vinegar soaks or bleach soaks; those are better done separately in a basin, according to the cleaning method you choose, so every piece gets direct contact and then a controlled rinse.
A Practical Dishwasher Workflow For Approved Feeders
When the feeder instructions allow dishwasher use, the most reliable workflow is still hands-on. Empty the feeder completely. Rinse away nectar. Disassemble every removable part. Brush the bottle or saucer, the base channels, the threads, the ports, and the undersides of flower pieces. If the feeder has black specks, cloudy residue, or sour-smelling nectar, treat it as a deeper-clean job rather than simply loading it in the dishwasher. The machine can wash broad surfaces, but brushing removes the film that protects residue in corners.
After brushing, place approved large parts on the top rack unless the feeder instructions say otherwise. Secure small parts in a closed basket. Avoid crowding pieces together; water needs to reach all surfaces. When the cycle ends, check each part under bright light. Run a clean pipe cleaner through ports if the design allows it. Rinse any part that feels slick or smells like detergent. Let everything dry fully, then reassemble and fill with fresh clear 4:1 nectar. If the feeder leaks after a dishwasher cycle, stop using it until you find the warped or loose piece.
When Hand-Washing Is The Better Choice
Hand-washing is better for delicate feeders, unknown materials, feeders with many small valves, vintage glass, decorative finishes, and any feeder that has already shown heat damage. It is also better when you need to clean immediately and do not have enough dishwasher-safe parts to justify a cycle. A small brush set is often more important than the dishwasher: one bottle brush for the reservoir, one narrow brush for ports, and one soft brush for flower pieces will solve most cleaning problems.
Hand-washing also keeps bird-feeder residue out of the same load as household dishes. That is a household preference, but it is reasonable. If you do use the dishwasher, consider running feeder parts by themselves or with outdoor-only items, then clean the dishwasher filter afterward if loose debris was present. Do not put feeder parts in with greasy pans or heavily soiled dishes; grease and food residue are exactly the kind of film you do not want near feeder ports.
Signs The Dishwasher Is Damaging Your Feeder
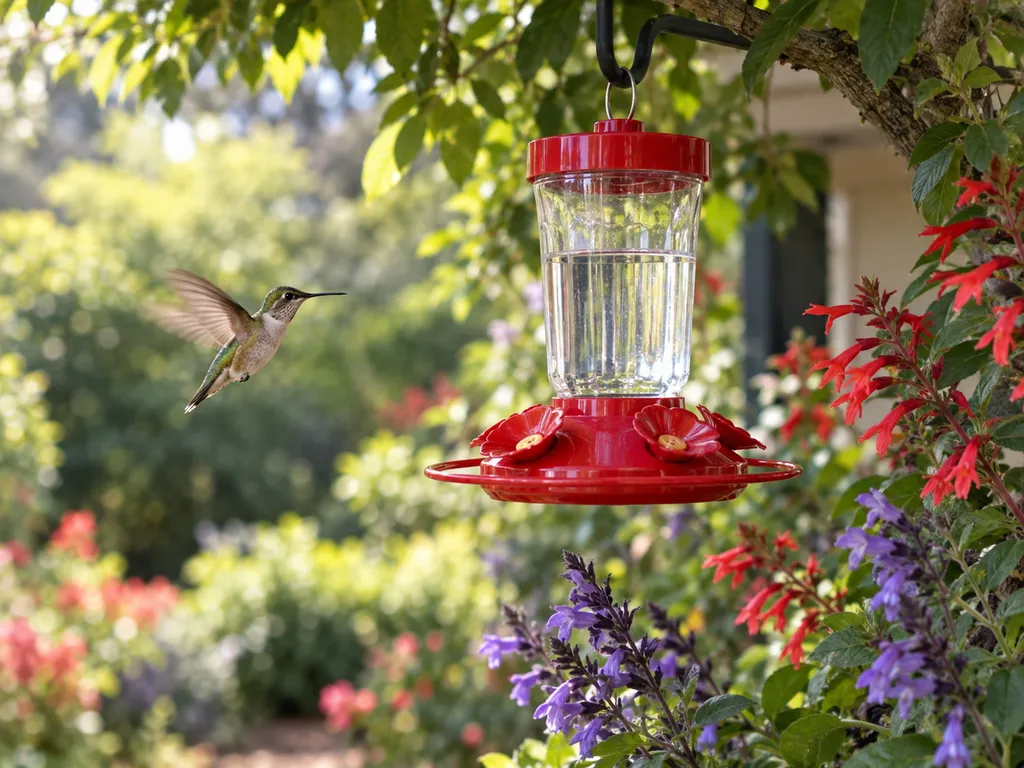
Stop machine-washing a feeder if you notice a base that no longer sits flat, flowers that pop out too easily, a gasket that feels loose, a reservoir that has become cloudy or crazed, or a new leak around the threads. Also stop if the plastic holds a detergent scent after rinsing. Hummingbirds feed through tiny openings, and the feeder’s shape controls both access and leakage. Small changes matter. A feeder that cannot be cleaned and rinsed without damage is not saving time; it is creating a maintenance problem.
The same goes for persistent dark spots. If black specks remain after brushing, soaking, and rinsing, do not treat the dishwasher as a stronger fix. Replace the affected part if the manufacturer sells replacements, or retire the feeder. A cleanable feeder should come apart enough for you to see and scrub the places nectar touches. If it cannot, choose a simpler design next time, such as a wide-mouth bottle or a saucer feeder with removable ports. For a broader comparison of cleanable designs, see Types of Hummingbird Feeders Explained.
How This Fits With A Full Cleaning Routine
This article answers the dishwasher question, not the entire feeder-care routine. For a full step-by-step cleaning walkthrough, use How to Clean a Hummingbird Feeder. The dishwasher decision sits inside that larger habit: empty, disassemble, brush, wash, rinse, dry, inspect, and refill. If ants, bees, or leaks are part of why your feeder is getting dirty faster, the cleaning method may not be the real issue; placement and feeder style may need attention too.
A good feeder-care rhythm is simple enough that you will actually keep doing it. Use a feeder that opens widely. Keep dedicated brushes near the sink or outdoor wash area. Make smaller batches of 4:1 nectar so you are not tempted to leave old nectar outside too long. In hot weather, expect more frequent cleaning. In cool weather, still clean at every refill. The dishwasher can reduce scrubbing on approved parts, but it should never make feeder care feel automatic or invisible.
Bottom Line
A hummingbird feeder is dishwasher-safe only when its own care instructions say so. Even then, remove and brush the small parts, secure them during the cycle, skip high heat unless allowed, rinse away any residue, dry everything fully, and inspect for warping or leaks before refilling. When in doubt, hand-wash. Clean feeder parts matter more than convenience, and the easiest feeder to own is the one you can take apart, brush thoroughly, and put back together without guessing.
The Bottom Line
Use the dishwasher only for hummingbird feeder parts that are clearly dishwasher-safe, and treat it as one step in cleaning rather than a replacement for brushing. Ports, seams, flowers, valves, gaskets, and ant moat pieces still need close attention. If a feeder has no care instructions, has delicate parts, or shows heat damage, hand-wash it with dedicated brushes and rinse very thoroughly. Refill only after the feeder is clean, dry, and fully reassembled.
Frequently Asked Questions
Can I put the whole hummingbird feeder in the dishwasher?
Usually no. Take the feeder apart first. Whole feeders can trap residue where pieces overlap, and small ports may not get enough direct spray. Only put parts in the dishwasher when the feeder instructions say those parts are dishwasher-safe.
Should hummingbird feeder parts go on the top rack?
Use the top rack if the feeder instructions allow dishwasher cleaning and do not give a different placement. Keep small parts in a closed basket so they cannot fall, melt, or block the machine. Avoid heated dry unless the instructions specifically allow it.
Do I still need to brush the ports if I use the dishwasher?
Yes. Ports, flower pieces, bee guards, valves, and bottle threads are the most likely places for residue to hide. Brush them with a small feeder brush or pipe cleaner before or after the dishwasher cycle, then inspect them under good light.
Is dishwasher detergent safe for hummingbird feeders?
Only if the feeder is dishwasher-safe and you rinse thoroughly afterward. Sources differ on soap for hummingbird feeders, so the careful approach is to use as little residue-producing cleaner as possible and rinse until there is no scent, slick feel, or visible film.
What if my feeder warped in the dishwasher?
Stop using the damaged part. Warping can cause leaks, loose seals, and hard-to-clean gaps. Replace the part if replacements are available, or switch to a feeder that is easier to disassemble and clean by hand.
Sources
This guide was researched using these sources.
- https://feederwatch.org/learn/feeding-birds/how-to-clean-your-feeders
- https://www.allaboutbirds.org/news/how-to-clean-your-bird-feeder
- https://www.allaboutbirds.org/news/feeding-hummingbirds/?pid=1181
- https://www.audubon.org/community-science/hummingbirds/how-create-hummingbird-friendly-yard
- https://www.nationalzoo.si.edu/migratory-birds/hummingbird-nectar-recipe
- https://www.cdc.gov/hygiene/about/cleaning-and-disinfecting-with-bleach.html?CDC_AA_refVal=https://www.cdc.gov/healthywater/hygiene/disinfecting-bleach.html